
 4 hours ago
1
4 hours ago
1
.jpeg)
If you have spent enough nights in Yharnam, you know the world of ‘Bloodborne’ is incredibly detailed and tightly built. That said, a handful of tiny hiccups and oddities are baked into the experience, and once you spot them, they tend to stick out on every run after that. These are not game breaking by any stretch, but they are the kind of quirks that catch your eye and pull you out of the mood for a second.
What follows is a tour of small continuity slips, visual glitches, and logic goofs that players have documented across multiple patches and platforms. Each one includes where it appears and how to see it again, so you can verify it on your own file the next time you ring the bell. Consider this your checklist of curiosities hidden among the cobblestones and fog.
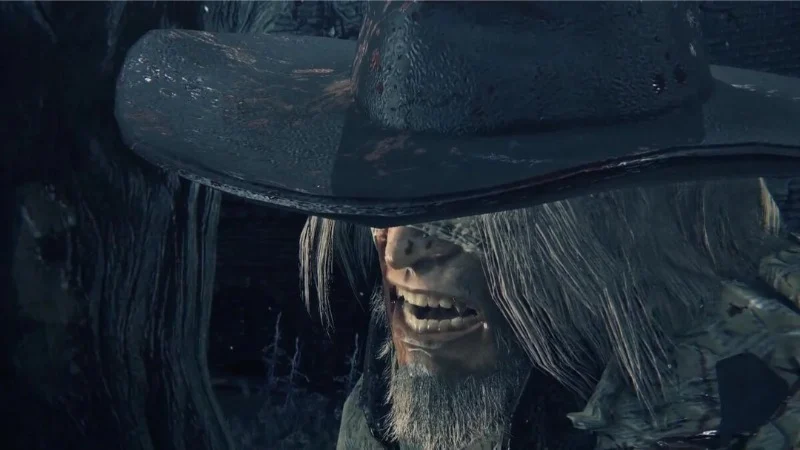
Gascoigne Cutscene Blood Reset
 FromSoftware
In Central Yharnam, the Father Gascoigne intro is preceded by a path smeared with blood from previous fights in that area. After you trigger his cutscene on the bridge, the ground behind you shows a lighter smear pattern that does not match what you just left. Reloading the arena or dying and returning will repeat the reset to the same default texture blend.
You can test this by luring mobs over the bridge and creating fresh blood pools before the fight. Trigger the cutscene and watch the decal layout change when control is returned. The discrepancy appears even with performance mode on newer hardware and is visible at multiple resolutions.
Floating Blood Echo Orbs In Elevators
 FromSoftware
When you die on or near moving lifts like the Cathedral Ward short lift, your blood echoes can respawn at the elevator’s previous world position. If the platform has moved before you return, the echo orb can appear floating mid air or just outside the lift shaft. This is caused by the death position being stored before the platform’s transform is updated again.
You can reproduce this by stepping onto a descending platform, taking fatal fall damage at the lip, and then returning from the lamp. The orb often hovers at the shaft height where the lift was last registered. Calling the elevator to the opposite level usually pulls the pickup back into reach, but the float is easy to see before you collect it.
Hunter’s Dream Gravestone Text Mismatch
 FromSoftware
The gravestones in the Hunter’s Dream list chalice dungeons and locations that unlock as you progress. In several languages, the inscriptions and the warp menu entries do not match exactly, with capitalization and phrasing inconsistencies that persist after language swaps. The English strings also show minor differences between the standing stone labels and the travel menu list.
You can verify this by switching the system language to another supported option, then comparing the gravestone name, the lamp name, and the travel menu entry for the same destination. The mismatch remains even after reloading, which suggests separate localization keys were used for nearby elements.
Amelia Cutscene Geometry Pop
 FromSoftware
During the Vicar Amelia cutscene, the camera swings low and pans across the Grand Cathedral floor. On certain angles, pieces of floor trim and railing behind Amelia can pop in a frame late, which creates a short flicker on the left edge of the screen. This is a culling issue that is easier to see at higher frame pacing stability.
Stand at the fog gate, trigger the cutscene, and watch the first wide shot closely on the left. The pop is brief but repeatable and does not depend on your outfit or run state. Skipping the cutscene removes the pop entirely since it only occurs in the prerendered sequence.
Eileen Quest Flag Soft Locks Dialog
 FromSoftware
Eileen the Crow’s questline depends on several flags that advance when you enter specific zones. If you kill the Blood Starved Beast before meeting her at Tomb of Oedon, you can push her next state while she remains at an earlier spawn. This results in missing dialog and a silent despawn after you clear certain bosses, even though you never saw the intended encounter.
To see this, start a fresh file, meet her at Central Yharnam, then rush to Old Yharnam and clear the beast before returning to her later steps. Her follow up appearance at Tomb of Oedon can fail to trigger, while her later hostile state at Cathedral Ward still becomes eligible. The quest then ends without the reward if you proceed to that zone first.
Micolash Pathing Leash Exploit
 FromSoftware
In the Nightmare of Mensis, Micolash runs through preset corridors and teleports between arenas. If you enter his second phase room and hug the doorway while he tries to reengage, he can stall at the edge of his pathing leash and loop his sidestep animation. This keeps him in a partial combat state without closing the distance until you move deeper inside.
You can recreate this by chasing him through the mirror into the large room, then retreating to the door frame after he teleports in. Wait for his AI to attempt the path and watch for the repeated sidestep near the threshold. Pushing a few steps forward breaks the loop and restores his intended aggression.
Rom Arena Fog Aggro
 FromSoftware
The Rom, the Vacuous Spider arena uses fog and water to hide spawn timing for the smaller spiders. If you approach the shoreline before the boss descends, nearby minions can aggro through the fog, turning toward you before the health bar appears. This is most visible if you avoid the trigger volume and circle close to the outer edge.
To check this, walk around the lake perimeter without stepping deep into the water. Watch the nearest spiders rotate to face the player even though the boss has not engaged. Entering the water to the intended depth starts the fight as normal and resets the minions to the scripted first wave.
Maria Hair Clip In ‘The Old Hunters’
 FromSoftware
Lady Maria’s ponytail mesh can clip through her hat brim during fast turn animations in the Research Hall and Astral Clocktower. The issue is most visible during her phase transitions when the camera frames her upper body. The cloth and hair physics briefly update out of sync, pushing strands through the hat geometry.
Trigger her phase change and stay close enough for the camera to capture her head and shoulders. Slow vertical swings make the clip easier to spot as the animation resets the hair bones. The artifact disappears as soon as the physics settle, but it repeats on each phase transition.
Lantern And Door Placement Oddity In Cathedral Ward
 FromSoftware
In Cathedral Ward, the path from the Grand Cathedral to the lower square includes a closed door that appears adjacent to a lamp whose light spills through the seams. The interior behind that door does not exist in the world space and is not accessible from any angle, yet the light volume implies a room. This creates an odd visual cue that suggests a hidden route that is not present.
Walk down from the cathedral and stand at the door near the broken railing overlooking the giants. Pan the camera to see the lamp glow shining through the cracks. Attempts to view the space from below using binocular angles or camera clips show that the door backs into a solid wedge of level geometry.
Byrgenwerth Moon Seam
 FromSoftware
At Byrgenwerth, the skybox features a prominent moon that shifts with camera angle. On certain positions near the lake, a thin vertical seam appears where two skybox textures meet. The line is faint but visible when you tilt the camera to align the moon at the top third of the frame.
Stand near the ledge facing Rom’s arena and rotate slowly while looking upward. The seam shows as a straight line that flickers as the parallax changes. Moving a few steps to either side hides it, which confirms it is a texture boundary rather than a lighting artifact.
Share the mistake that always jumps out at you in the comments so other hunters can try it on their next journey.


.jpeg)


 English (US) ·